

Creating an experiment
Create an experiment in a short guided wizard: name it, set visibility, add collaborators and locations, then review and create.
You create an experiment through a short guided wizard. Only a name is required, so you can start simple and fill in the rest later.
To begin, open Experiments and select Create Experiment.
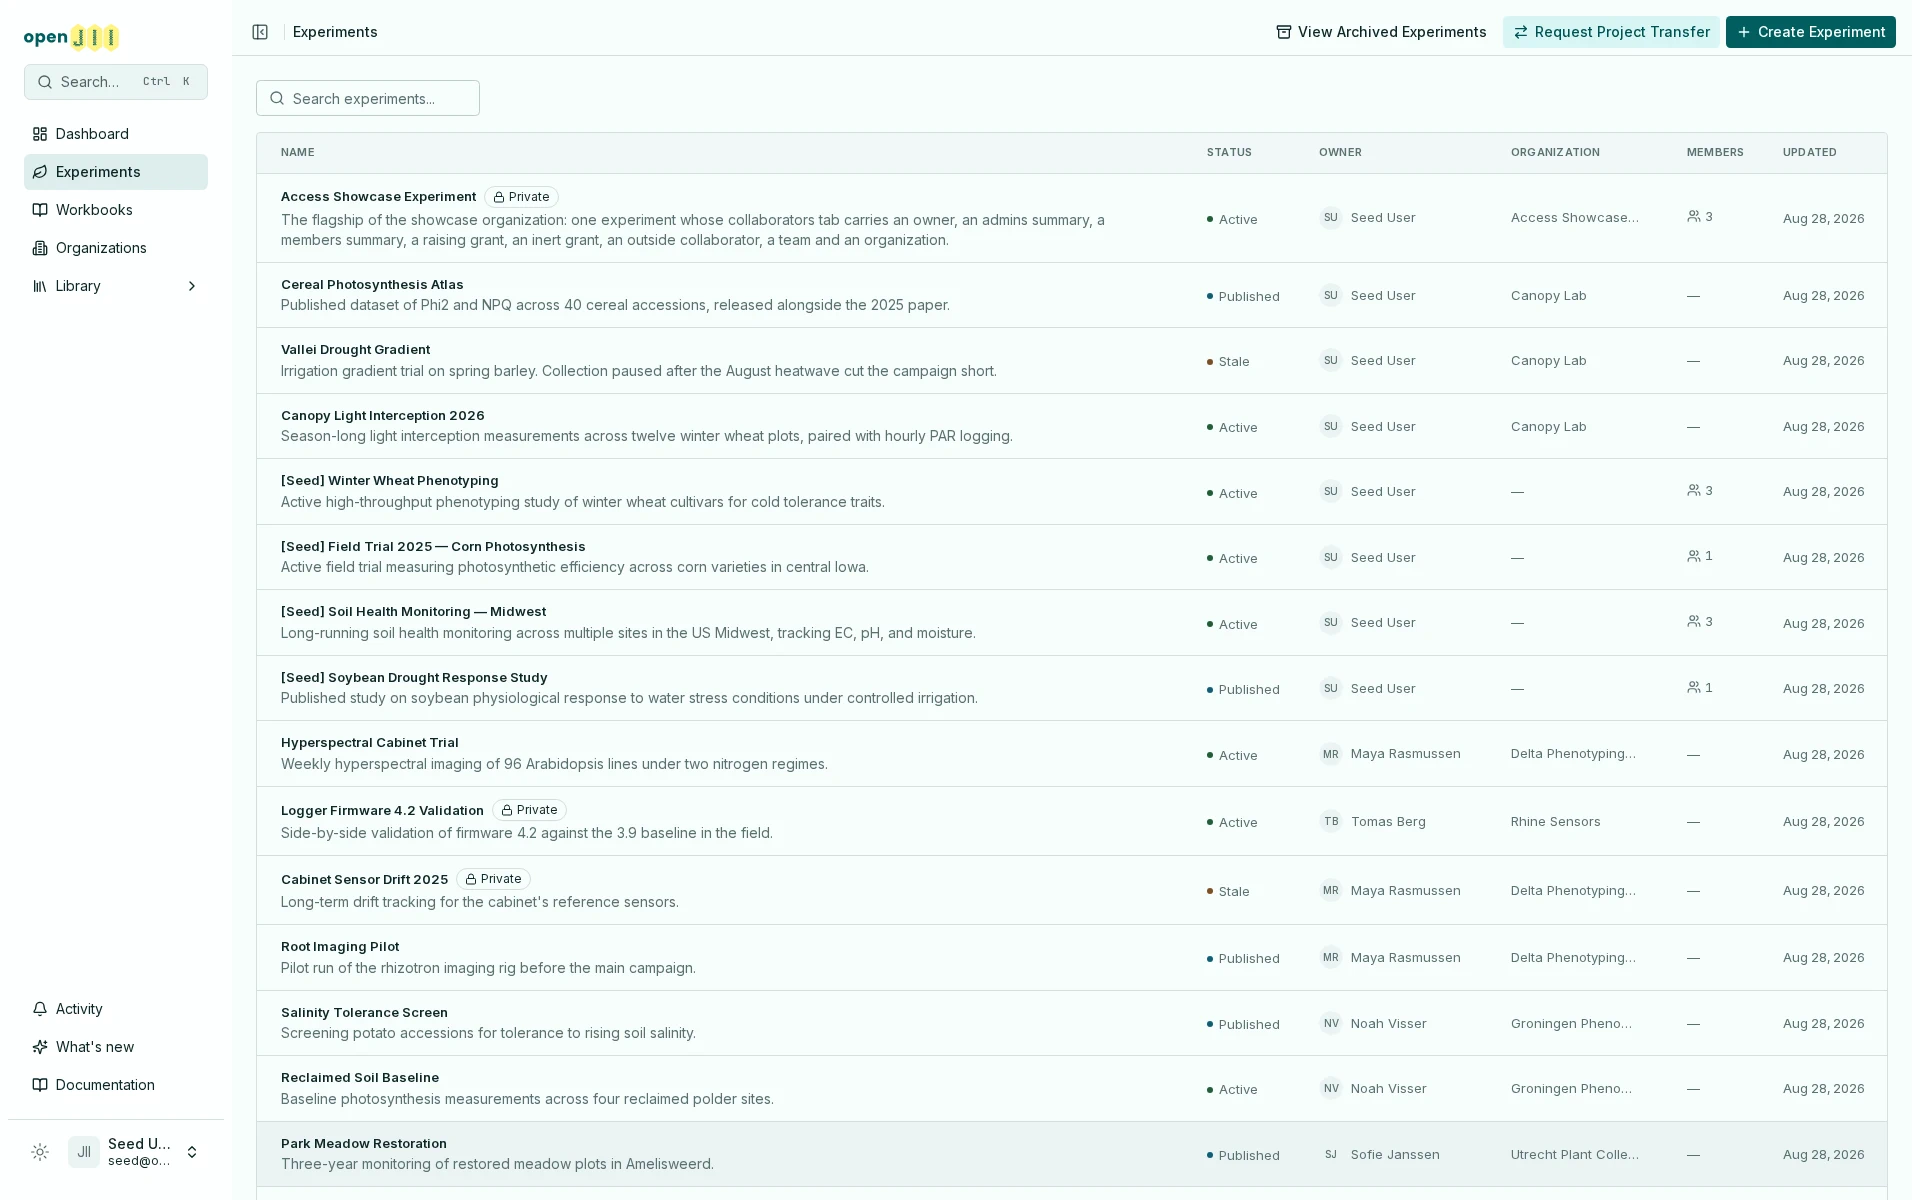
The create wizard
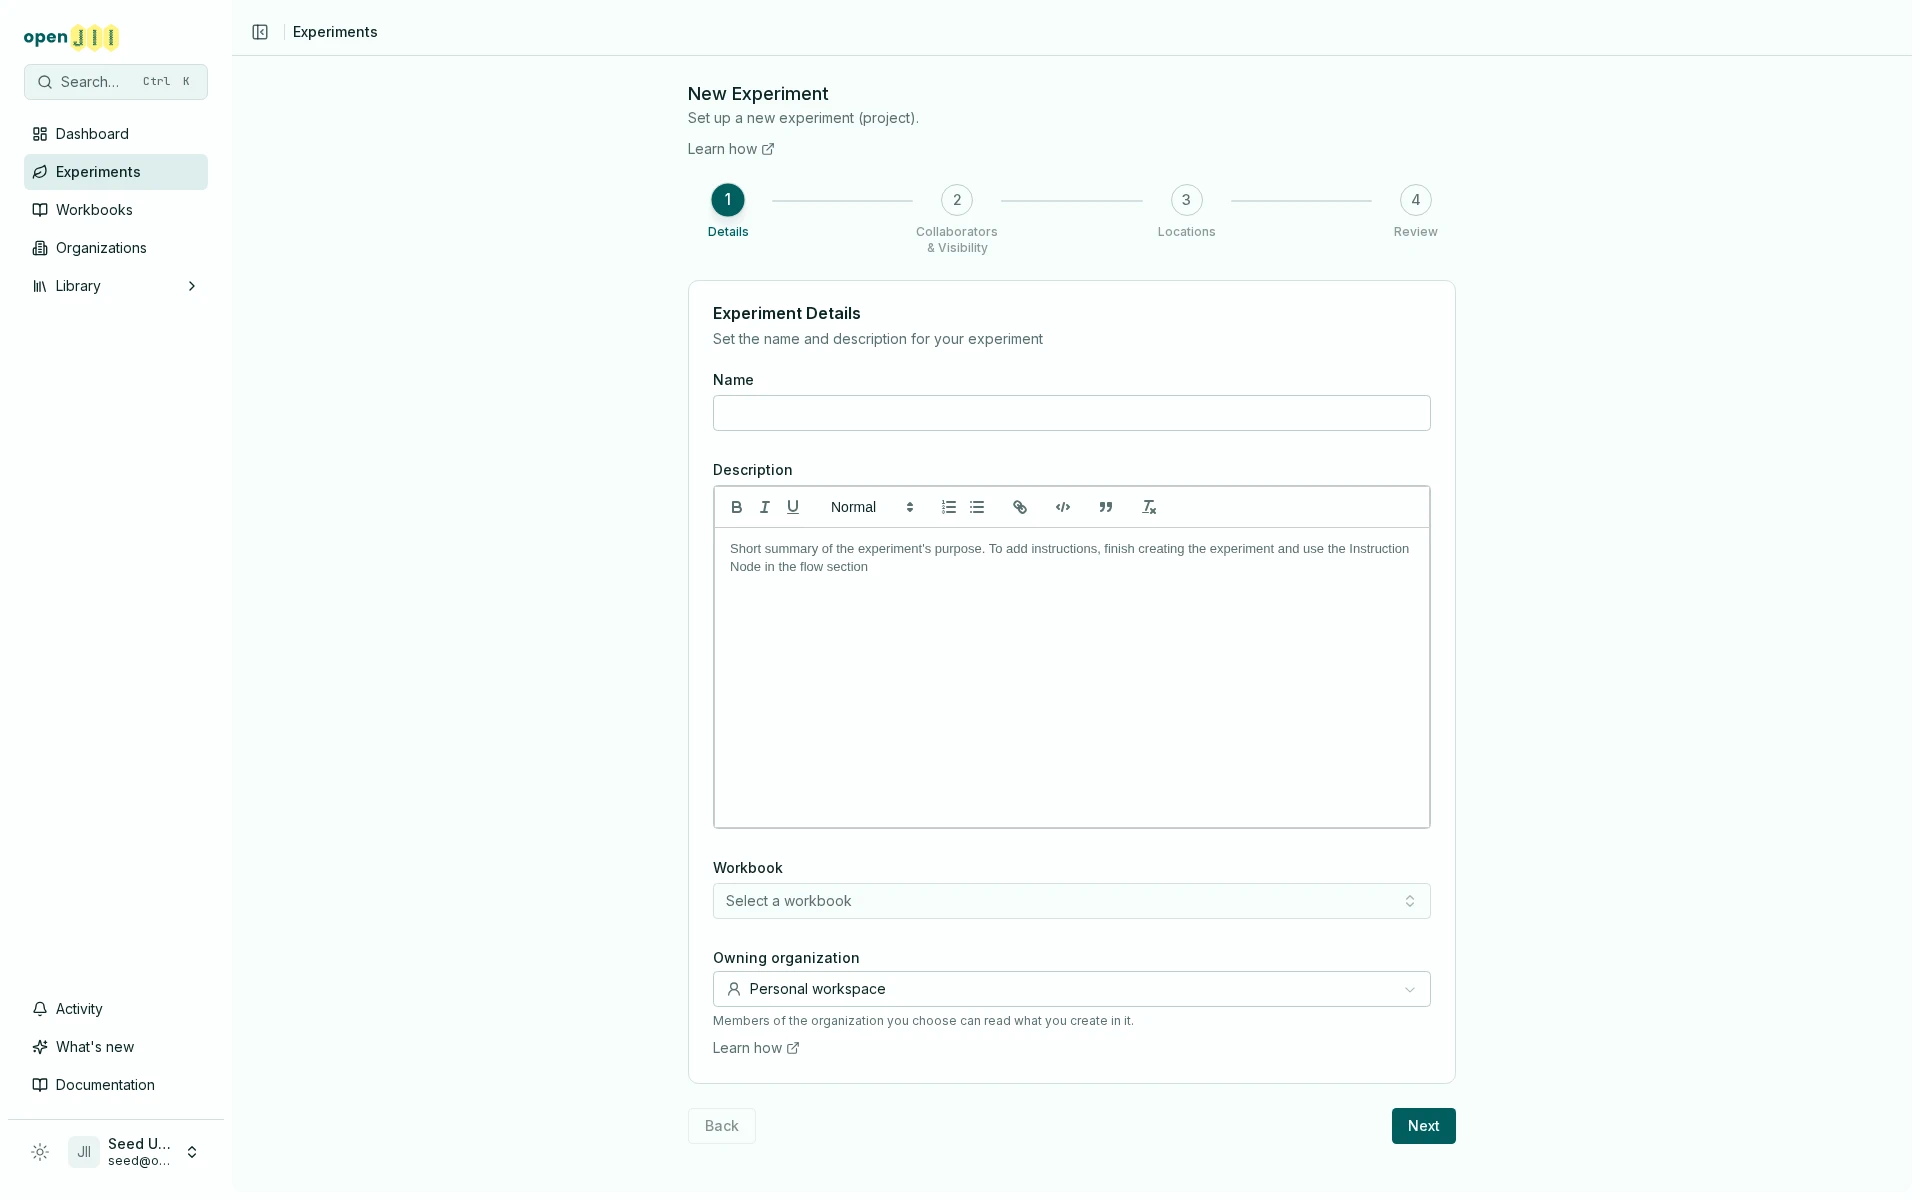
The wizard has four steps. You can move Next and Back between them, and nothing is created until the final step.
Details
- Name (required) — a clear, descriptive name makes your experiment easy to find and share.
- Description (optional) — a short summary of the experiment's purpose.
- Workbook (optional) — the measurement flow the mobile app will follow. You can attach one now or add it later.
Collaborators & Visibility
- Add collaborators — search for people to add now. Everyone added here starts on Can view, which lets them open the experiment and contribute measurements and annotations. Raise someone to Can edit from the Collaborators tab once the experiment exists, or skip this step and add people later.
- Visibility — choose Public or Private. New experiments are public by default. If you choose Private, set an embargo date on which the experiment becomes public automatically.
Once an experiment is public, its visibility cannot be changed back to private.
Locations
Add one or more geographic locations where the experiment takes place. This is optional.
Review
Check your settings, then select Create Experiment. Your new experiment opens and appears in your experiments list.
About visibility and embargo
openJII is built around open data:
- Public experiments are visible to everyone. This is the default.
- Private experiments stay hidden until their embargo date, then become public automatically. The embargo can run up to about a year.
You can read more in Sharing & Collaboration.
What comes next
- The Details step lets you attach a Workbook (measurement flow). Set up what field users measure in Devices & Protocols.
- Add context to your measurements with metadata.
- Invite collaborators and set their roles.